Main menu
You are here
Photoshop Monster Tutorial
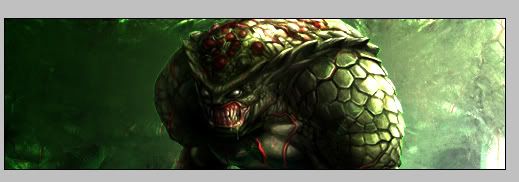
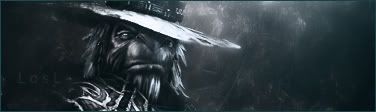
We're going to be making this: 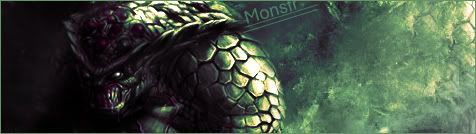
Ok well thank you to anyone reading this tutorial. It proves you think I might actually have some skill hah. Ok first of all I’m terribly sorry if the outcome is shit, I’m creating the sig as I write this. While following this tutorial be sure to try out your own blending styles and options because yours may be too bright or dark compared to mine.
Ok so lets get started shall we =D
Ok first of all open a new document, I chose 500 X 150, I will most likely crop this down by the end.
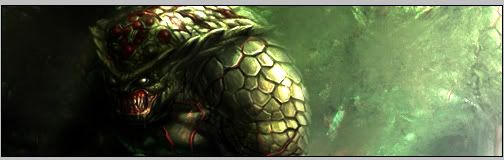
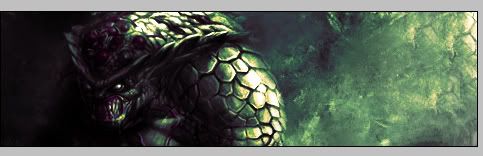
Pick a render with an obvious light source and some rich dark colours. I’ve chosen to re-use an old render, this is what I’ll be using:
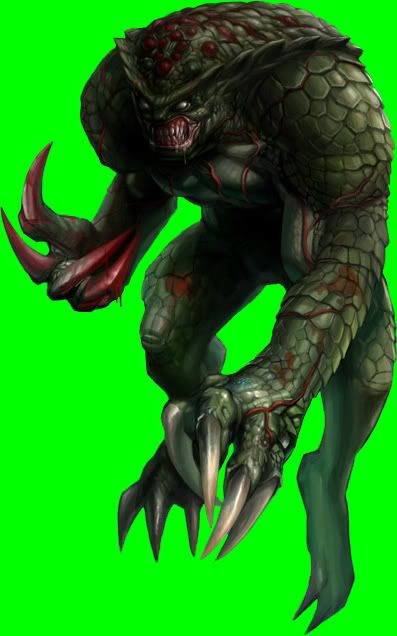
From the eye of any decent graphics designer you can tell this is one badly cut render. The left shoulder (from our perspective) is choppy. Blending will cover all this up. We can also tell the light source is somewhere on the right.
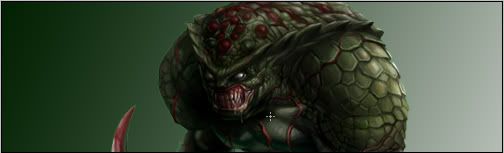
Ok so drag and drop your render onto the signature, try to position it so you can see the face and chest, here’s what I have.

Ok now we’re going to create a Gradient background, select your gradient tool. Now you should have black and white. I recommend choosing a semi-dark colour from the render and changing the BLACK to it. I usually leave white as white, but you could also change white with a light colour from the render. So now you’re going to want to put the gradient on the background layer, behind the render. Position the gradient so the white (or lighter colour) is in the direction of the light source. Here’s what I have now.
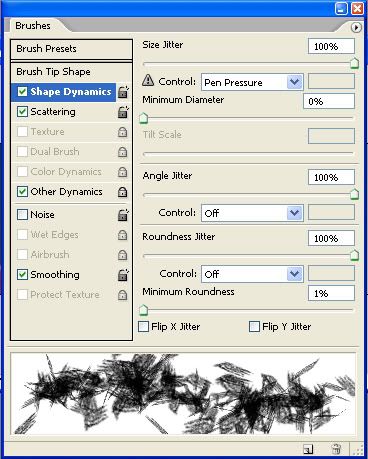
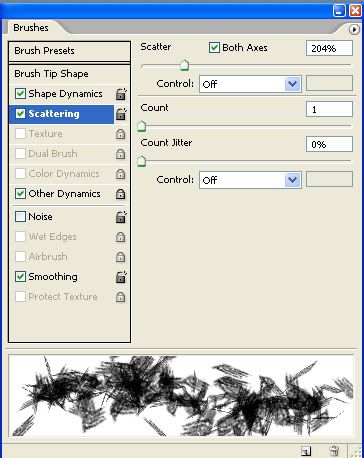
Ok now I’m going to use Smudging in this signature to make a basic background to work from. So choose the smudge tool, and use the Chalk Brush Tool at size 60. I use Strength 50% and have Sample All Layers CHECKED.
Here are my settings:
Ok so select your render and hit CTRL+J to duplicate it. I made 4 copies (so 5 total) and moved the render around so it covered the whole signature. The trick here is to also use parts of the render that are off the signature to cover up space, so it doesn’t just look like moved duplicates.
Here’s what I have now:

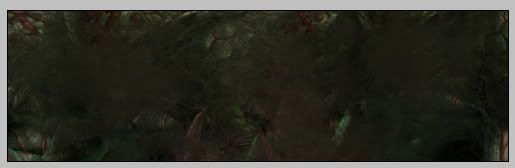
Ok so now here’s a common mistake people make, don’t smudge this until it becomes a blob of scratches. Smudge until you can still see pieces of everything but they’re not recognizable. So I smudged on the top layer, and once I had my desired result I hit CTRL+E to make all of my smudged renders one. Although I still have one render of the monster. Here’s what my smudged layers look like..
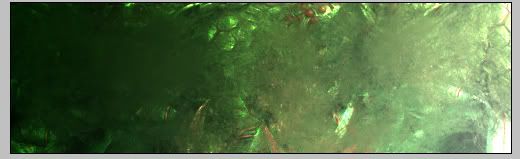
Ok now I set my smudged layer to Colour Dodge.and duplicated it (CTRL+J) Twice.
So I now have 3 layers on Colour Dodge. I than duplicated it once more, and set the layer on top to Soft Light. Here’s what I have now.
I now put my Render below everything except the gradient layer. I used the dodge and burn tool to emphasize the lighting. Here’s what I have now.
Ok, now I’ve relocated the render to the left more. I used the Burn Tool on the background left to make it black, I’m going for the effect of a monster hidden in shadow but lite up on the right. Here’s what I’ve got now.
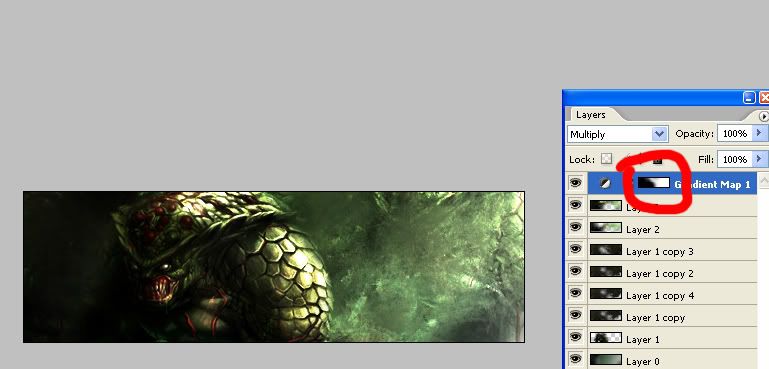
Ok now I decided to darken the right, so I went Layer – New Adjustment Layer – Gradient Map. Now Gradient maps for those unaware of them, are excellent for shading and colouring adjustments. Now here were the settings I picked.
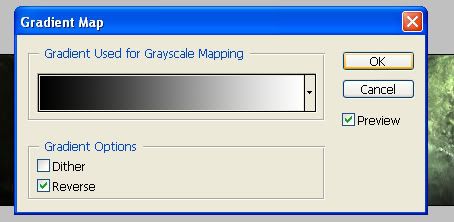
I set this layer to Multiply. And Erased all the parts where it covered the left it made it too dark.
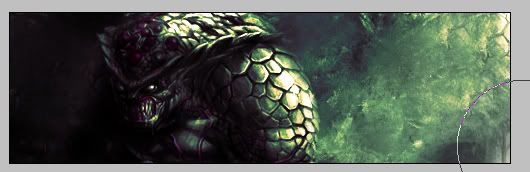
Ok I made a new Gradient Map, this time set to the Purple, Green, Orange combo. I set this to colour and 67% opacity.
Ok now I’ve cropped the signature down. Its now 476 X 134.
Now for the most fun part…text….
I found an empty-ish area, fit a simple text in, and used the line tool to enhance the text.
Next I just added a simple 1px border from the colour a colour in the signature.
And here’s my final copy again.
Source :-http://www.tutorialized.com/
Copyright© 2010-2012 Grook network
sitemap | Privacy Policy
Follow us on: ![]()
![]()
![]()
![]()
